I live in Wooster, Ohio and I have been living here since August of last year. I’m finishing up my time here and reflecting on it some.
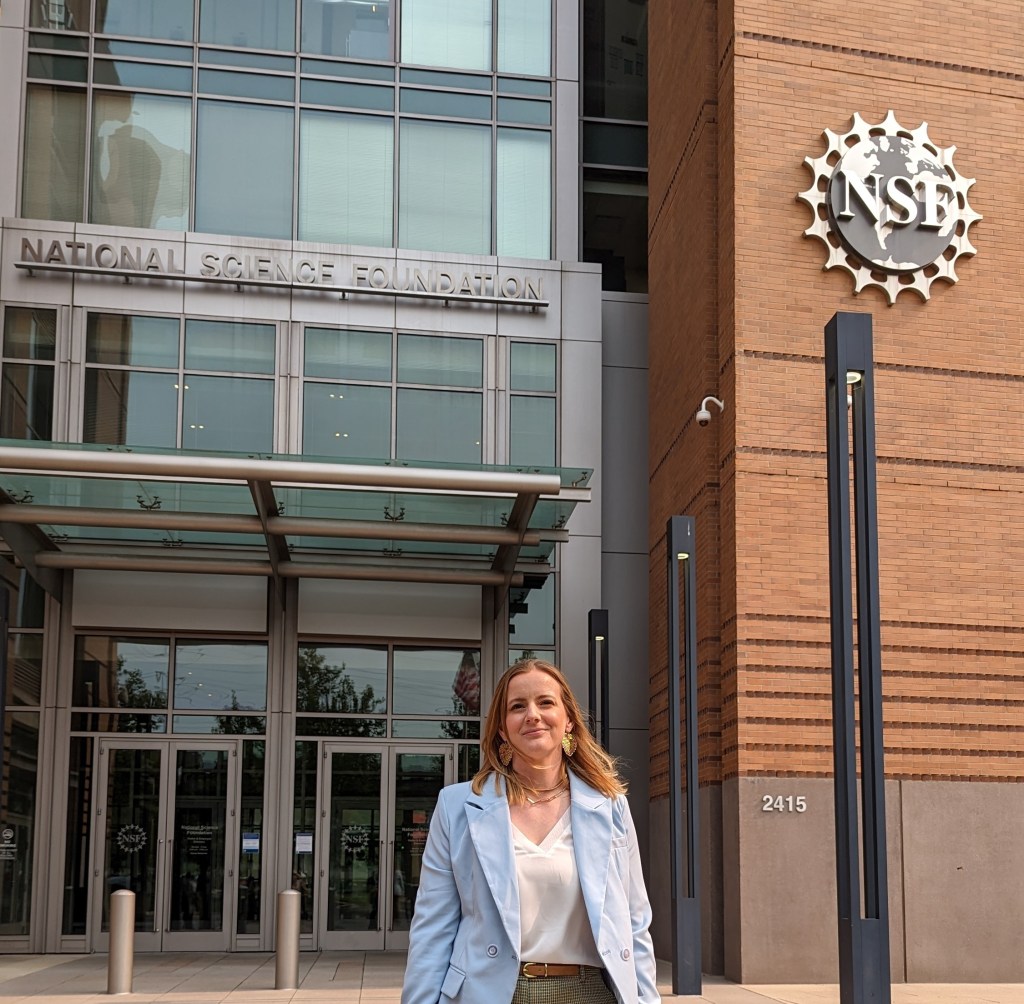
Just to update everyone: I finished my PhD in the Summer of 2025 and secured a position as Visiting Assistant Professor of Structural Geology and Tectonics at The College of Wooster in Wooster, Ohio. It is a very long title, but shorter than many of my colleagues, surprisingly. Wooster is a small liberal arts college in Northeast Ohio. It’s a teaching-focused institution known for its Independent Study requirement. Every student at The College of Wooster must complete a three-semester research project and develop a thesis prior to graduation. That’s kind of unique.
Well, I moved here knowing nothing about Ohio, and I don’t know much about the geology of Ohio even now to be honest. I’ve lived here a while and the theme that I can latch onto the strongest is that glaciers mattered. A lot.
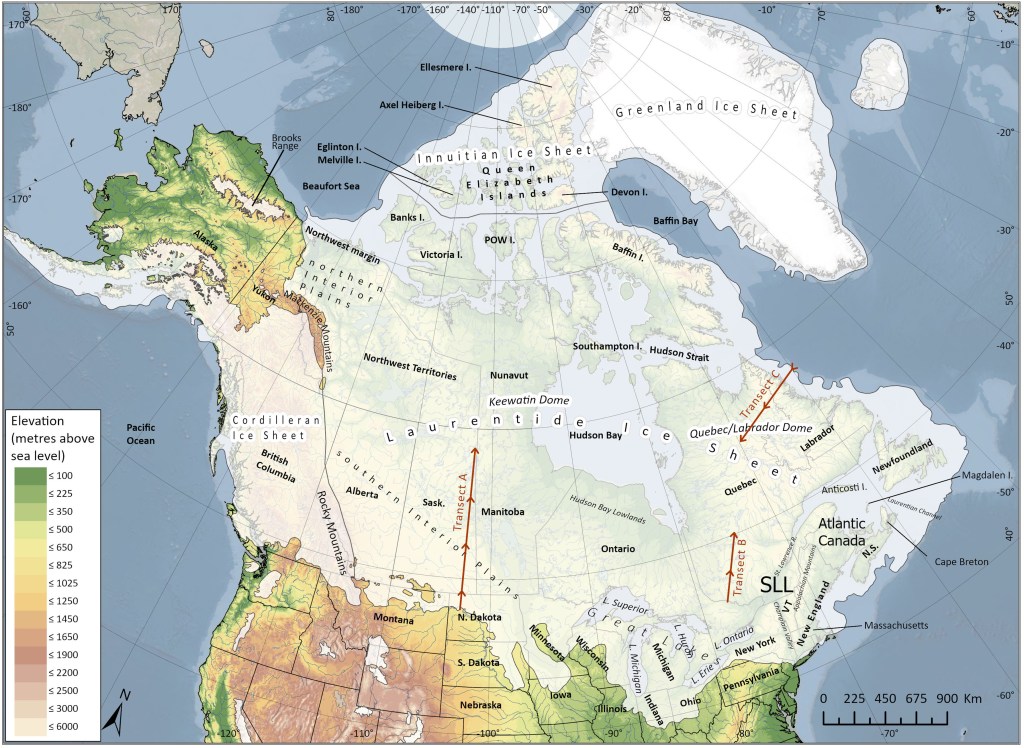
Basically, during the Pleistocene – or pretty recently on the Geologic Time Scale – there was a cycle of warming and cooling of the Earth that during glacial periods, resulted in the formation of a large ice sheet (think Greenland but if it covered a heck of a lot more ground). Anyway, Ohio sees a lot of evidence of these glacial periods that occurred in the last several tens of thousands to a couple million of years, for example.
It’s particularly interesting when you consider how the landscape has evolved over vast geologic timelines. The rocks that underlie the great Buckeye State are around 400 million years old. These rocks record episodes of deposition, lithification, uplift, exposure, weathering, erosion, and transportation. Seemingly imperceptible, these processes – are on the one hand constructive and on the other destructive. But what’s even more interesting in my opinion is the way the landscape is so dynamically reorganized according to natural processes that play out daily. I guess what I mean by all of that is these rocks have seen some things.
There’s a rock type called diamictite. It’s a glacial deposit also known as “till”. Essentially the glacier indiscriminantly dumps all the sediment it’s holding onto so you get a wide distribution of sediment sizes, typically bimodal or two main size families (we typically classify sedimentary rocks based on the size of the pieces that make them up – in the case of diamictite this isn’t so easy!).
When I was a budding geologist, I was taking a class out in West Virginia and I had a thrilling discovery. I found a diamictite at a new locality for the first time. As a student. Who just learned the word diamictite. My mentor was so excited for me I couldn’t believe it. I thought to myself, “wow this guy cares a lot about rocks”.
Then, last semester, I got the opportunity to take my intro class out to the local park – Wooster Memorial Park. We stumbled across a diamictite. One of my students correctly identified it as such. We did a segment in class on Snowball Earth where we talked about glacial deposits and this brilliant first-year made the connection. Incredible. I suddenly understood what it meant to “care a lot about rocks”.
We also get glacial erratics. These are essentially rock expatriates. They started somewhere else and a glacier tore them out from their home, moved them great distances, and dropped them off to live somewhere else indefinitely. It reminds me of my move from Arizona to Ohio, honestly.
I’ve spent almost a year here. There has been a lot to love about Ohio – the local parks, The College of Wooster and all of my amazing colleagues that I’ve learned from and developed relationships with. I love Shreve Swamp (also known as Killbuck Marsh). Where I can scout for evidence of beavers and otters. I’m close to Cleveland and I’ve spent some time in that city, which I find lovely.
But, we really did it now – we finished our first year as a full-time faculty member. We learned a lot, we will continue to grow and we’re excited about the next thing – which includes a move back to my home state of Virginia!
But, I’d like to see the glacial grooves at Kelley’s Island before I move. I don’t know, something about glaciers allows me to connect deep time with human time scales. We don’t see them moving. We see the evidence instead.
The grooves carved into bedrock. The diamictites left behind. The erratics deposited far from home.
Maybe that’s what I find so compelling about them. They appear still, yet they transform entire landscapes.
I’ve only been in Ohio for a year. It doesn’t feel like a very long time.
And yet, the evidence is everywhere.